参考资料 centos编译安装gcc 10:https://xujinzh.github.io/2021/02/03/centos-install-gcc/
CentOs下安装gcc/g++/gdb的方法:https://cloud.tencent.com/developer/beta/article/1720891
vscode调试插件安装:https://vscode-debug-specs.github.io/cpp/
glibc升级到:https://www.jianshu.com/p/f4d603967e1d
查看gcc对应版本对应的库文件版本:https://stackoverflow.com/questions/56781513/understanding-the-gcc-version-and-the-glibc-glibcxx-versions-in-more-detail
问题 调试lua脚本的时候,需要使用gdb进行debug。
解决方案 要按照上面的步骤来安装对应的软件,主要分以下几步:
安装vscode插件
安装 c/c++插件
安装 emmylua插件
设置vscode的debug配置 里面的路径记得修改成自己的
launch.json
1
2
3
4
5
6
7
8
9
10
11
12
13
14
15
16
17
18
19
20
21
22
23
24
25
26
27
28
29
30
31
32
33
34
{ "version" : "0.2.0" , "configurations" : [ { "type" : "emmylua_new" , "request" : "launch" , "name" : "EmmyLua New Debug" , "host" : "localhost" , "port" : 9966 , "ext" : [ ".lua" , ".lua.txt" , ".lua.bytes" ] , "ideConnectDebugger" : false } , { "name" : "Open Resty" , "type" : "cppdbg" , "request" : "launch" , "program" : "/usr/local/openresty/bin/openresty" , "cwd" : "/usr/local/openresty/nginx/html" , "args" : [ "-c" , "/usr/local/openresty/nginx/conf/nginx.conf" ] , "stopAtEntry" : false , "environment" : [ ] , "externalConsole" : false , "MIMode" : "gdb" , "miDebuggerPath" : "/usr/bin/gdb" , } ] }
nginx.conf 的http节点下面添加emmylua初始化的文件路径,这样:
1
2
3
4
5
6
7
8
9
10
11
12
13
14
15
16
17
18
19
20
21
22
23
24
25
26
27
28
29
30
31
32
33
34
35
36
37
38
39
40
41
42
43
44
45
46
47
48
49
50
51
52
53
54
55
56
57
58
#user nobody; worker_processes 1; events { worker_connections 1024; } # !!!这两个不能少,远程调试的时候,openrestry进程不能后台运行,不然debug断不下来 daemon off; master_process off; http { include mime.types; default_type application/octet-stream; # !!!这里是引入一个lua脚本,目的是启动一个emmy_core调试器,监听端口为上面配置里面的9966 init_by_lua_file /usr/local/openresty/nginx/lua/init.lua; #log_format main '$remote_addr - $remote_user [$time_local] "$request" ' # '$status $body_bytes_sent "$http_referer" ' # '"$http_user_agent" "$http_x_forwarded_for"'; #access_log logs/access.log main; sendfile on; #tcp_nopush on; #keepalive_timeout 0; keepalive_timeout 65; #gzip on; server { listen 80; server_name localhost; #charset koi8-r; #access_log logs/host.access.log main; location / { root html; index index.html index.htm; } location = /example { # 这里可以随便写lua脚本了。调试器会针对lua后缀动态调试 rewrite_by_lua_file /usr/local/openresty/nginx/lua/auth.lua; content_by_lua_file /usr/local/openresty/nginx/lua/auth.lua; } error_page 500 502 503 504 /50x.html; location = /50x.html { root html; } } }
init.lua 文件的内容长这样:1 2 3 4 5 package .cpath = package .cpath .. ";/root/.vscode-server/extensions/tangzx.emmylua-0.5.13/debugger/emmy/linux/emmy_core.so" local dbg = require ("emmy_core" )dbg.tcpConnect("localhost" , 9966 )
4 调试
先启动emmylua,再启动openrestry
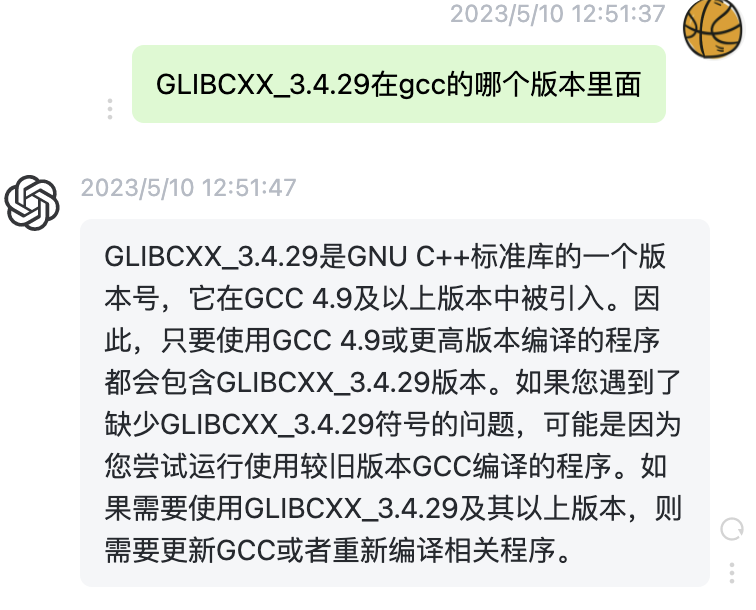
碰到的问题 找不到 GLIBCXX_3.4.29 : 1 2 3 4 5 6 nginx: [error] init_by_lua_file error: error loading module 'emmy_core' from file '/root/.vscode-server/extensions/tangzx.emmylua-0.5.13/debugger/emmy/linux/emmy_core.so': /lib64/libstdc++.so.6: version `GLIBCXX_3.4.29' not found (required by /root/.vscode-server/extensions/tangzx.emmylua-0.5.13/debugger/emmy/linux/emmy_core.so) stack traceback: [C]: at 0x7ffff7fce9f0 [C]: in function 'require' /usr/local/openresty/nginx/lua/init.lua:3: in main chunk
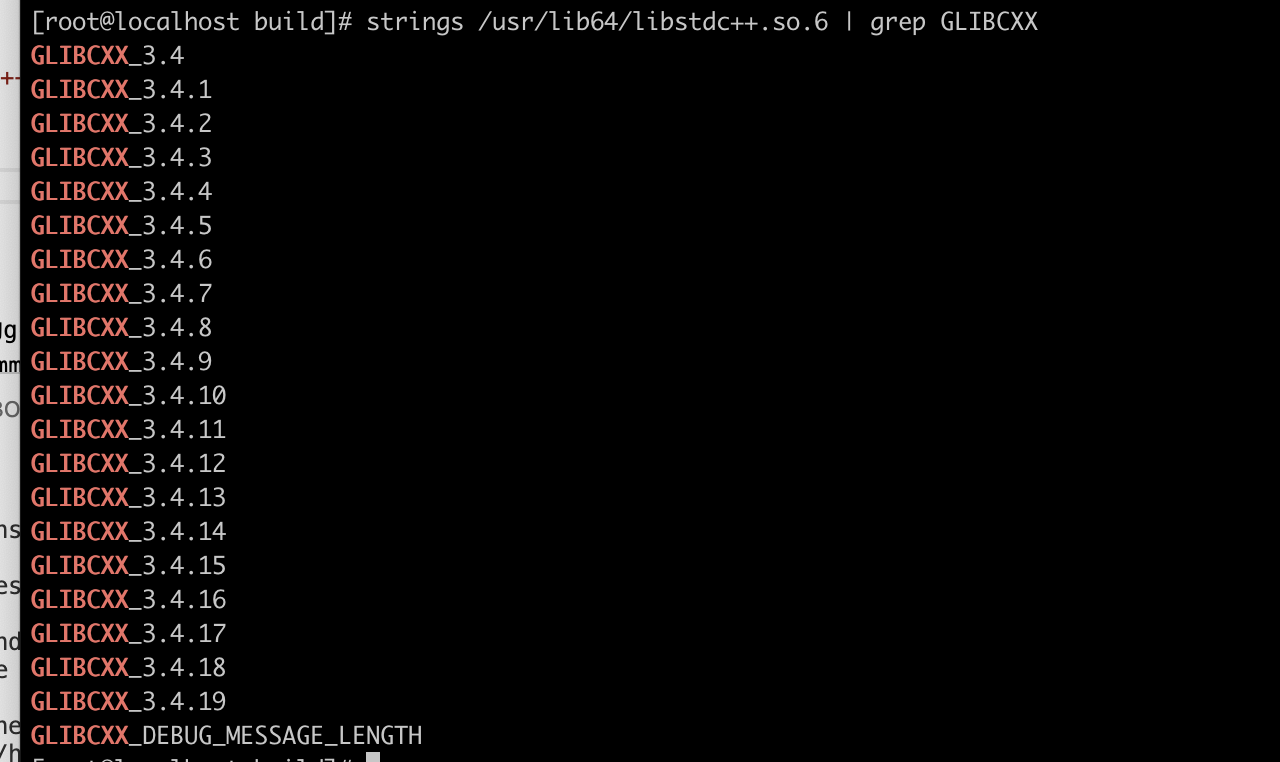
查看libc的已安装版本:
1 strings /usr/lib64/libstdc++.so.6 | grep GLIBCXX
解决办法: 就是升级gcc版本,安装新的glibc库了。
远程服务器编译比较新的版本的gcc
安装的gcc版本尽量新一些,保证emmylua依赖的库文件在系统中可以找到。我这里选择安装了10版本的。
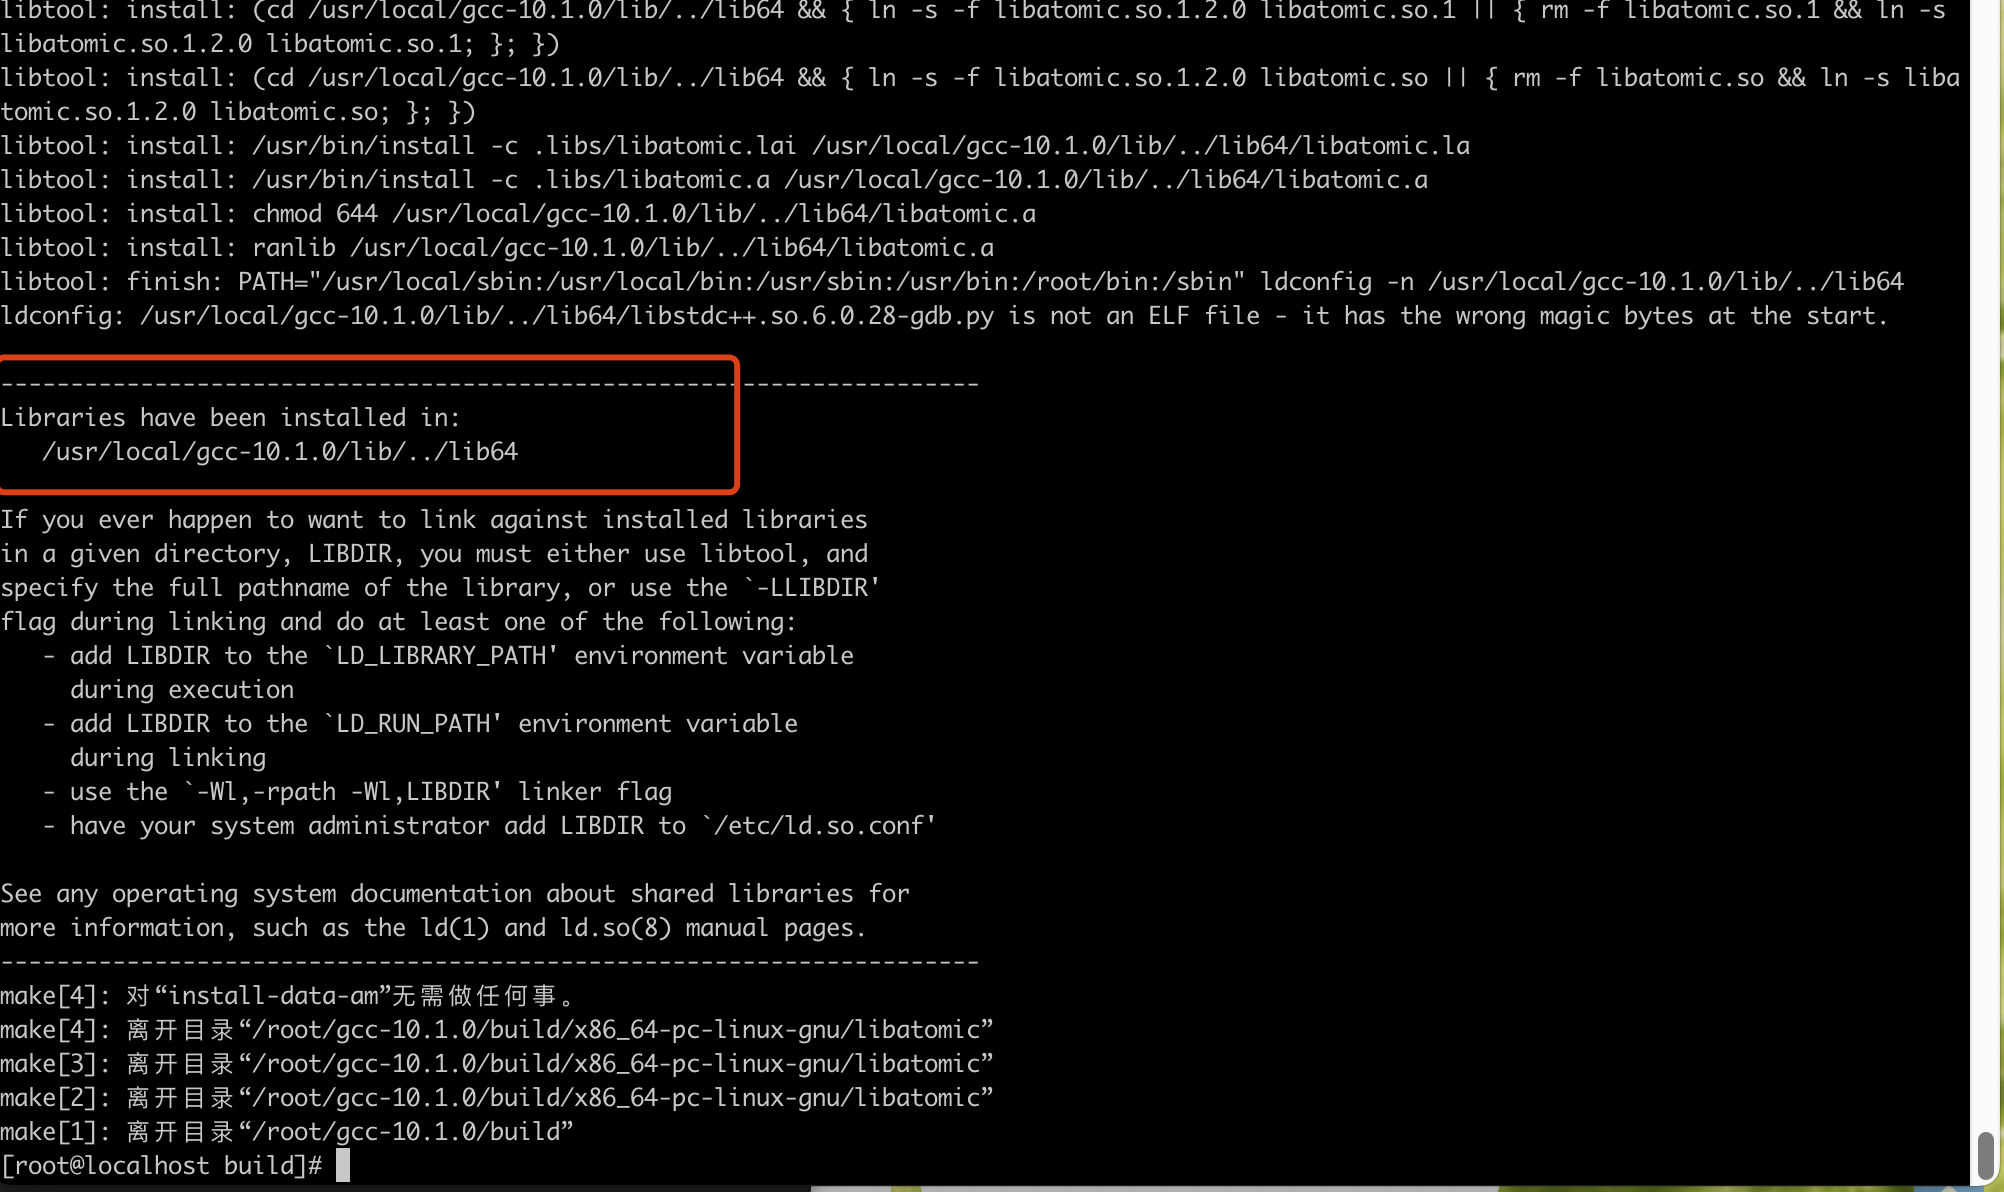
1 2 3 4 5 6 7 8 9 10 11 12 13 14 15 16 17 18 19 20 21 22 23 24 25 26 27 28 29 30 31 32 33 34 yum -y install wget bzip2 gcc gcc-c++ glibc-headers wget -c http://ftp.gnu.org/gnu/gcc/gcc-10.1.0/gcc-10.1.0.tar.gz cd /root/gcc-10.1.0./contrib/download_prerequisites mkdir buildcd build/../configure --prefix=/usr/local/gcc-10.1.0 --enable-bootstrap --enable-checking=release --enable-languages=c,c++ --disable-multilib make -j 8 make install echo -e '\nexport PATH=/usr/local/gcc-10.1.0/bin:$PATH\n' >> /etc/profile.d/gcc.sh && source /etc/profile.d/gcc.shln -sv /usr/local/gcc-10.1.0/include/ /usr/include/gccldconfig -v ldconfig -p | grep gcc gcc -v
升级完gcc之后,安装新版本的glibc:
在CentOS中安装glibc可以通过以下步骤完成:
1 2 3 4 5 6 7 8 9 10 11 12 13 14 15 16 17 18 19 20 21 22 23 24 25 26 27 28 29 30 31 sudo yum update sudo yum install -y wget tar gzip make gcc gcc-c++ sudo mkdir /opt/glibc-2.33 cd /opt/glibc-2.33sudo wget http://ftp.gnu.org/gnu/glibc/glibc-2.33.tar.gz sudo tar zxvf glibc-2.33.tar.gz cd glibc-2.33mkdir buildcd buildsudo ../configure --prefix=/usr sudo make sudo su make install ldd --version
提示:由于glibc是C语言标准库,是整个系统的基础,因此升级glibc需要谨慎。不正确的操作可能会导致系统软件出现异常甚至无法启动的情况。建议在操作之前备份数据和系统镜像并做好相关风险评估和恢复措施。
最终解决:自己编译emmy-core调试器 升级gcc之后,依旧报其他库找不到的错误。只能拿源码,自己编译一份适合我的机器的版本了。
上面操作都做了之后,发现10.1版本的gcc依旧没有新的 GLIBCXX_3.4.29。如果升级最新的gcc编译器的话,又得大半个小时,而且不一定能用。所以这里直接采用编译 emmylua调试器 的源代码
1
2
3
4
5
6
7
8
9
10
11
12
13
14
15
16
17
cd /rootgit clone https://github.com/EmmyLua/EmmyLuaDebugger.git cd EmmyLuaDebugger/cmake . make && make install mv /root/.vscode-server/extensions/tangzx.emmylua-0.5.3/debugger/emmy/linux/emmy_core.so /root/.vscode-server/extensions/tangzx.emmylua-0.5.3/debugger/emmy/linux/emmy_core.so.bakcd emmy_core/cp emmy_core.so /root/.vscode-server/extensions/tangzx.emmylua-0.5.3/debugger/emmy/linux
ps: 上面在make的时候,如果发现cmake版本太低,可以直接下载一个linux版本的最新cmake工具,不用自己编译,下载下来直接用新版本cmake执行操作。


